
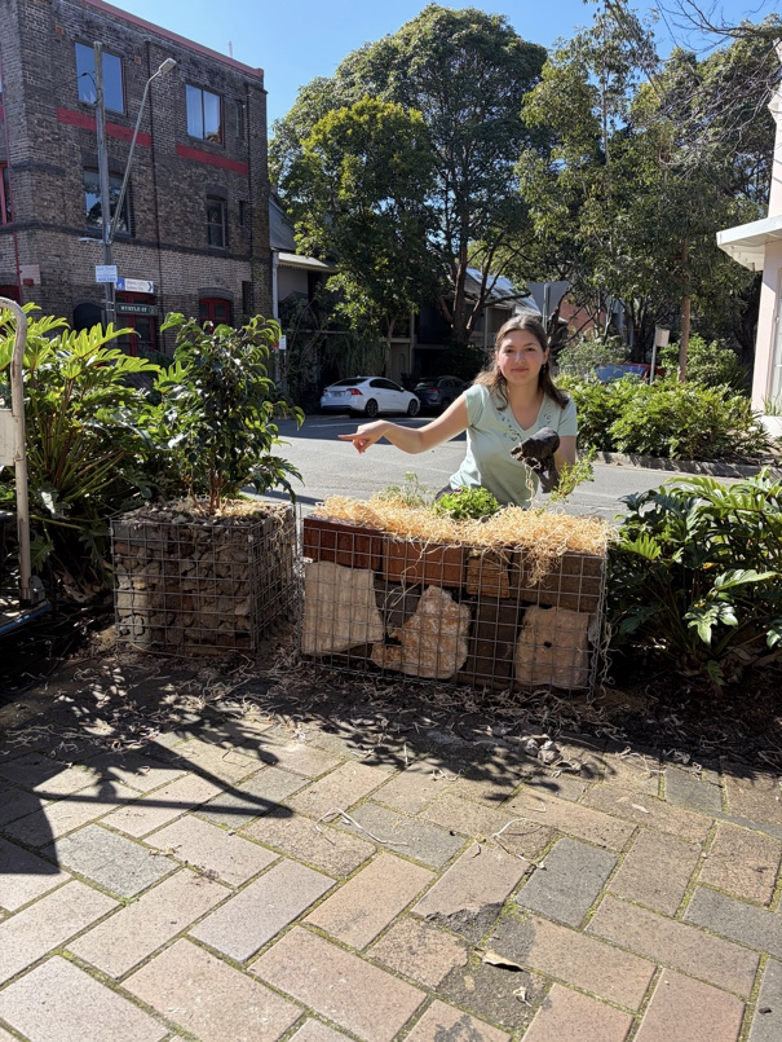
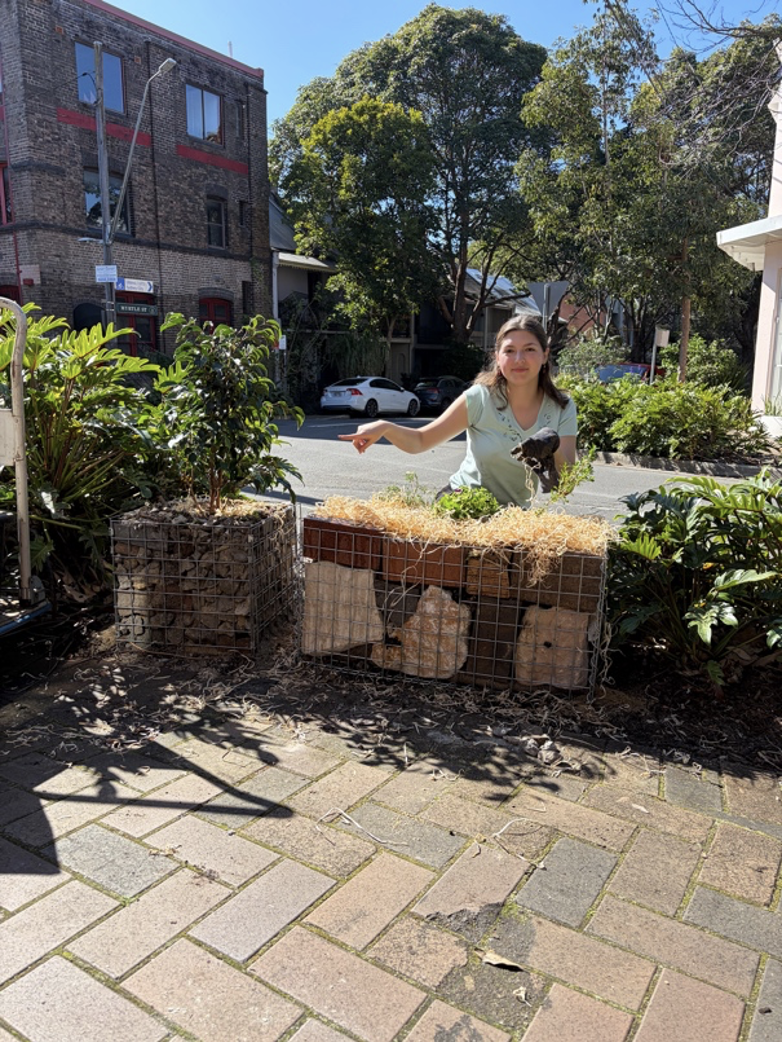
• My two gabion footpath garden beds, and me
By
Jocelyn Seadler, intern with Sustainable House
Key Points:
Assembly of gabion, planting, and care
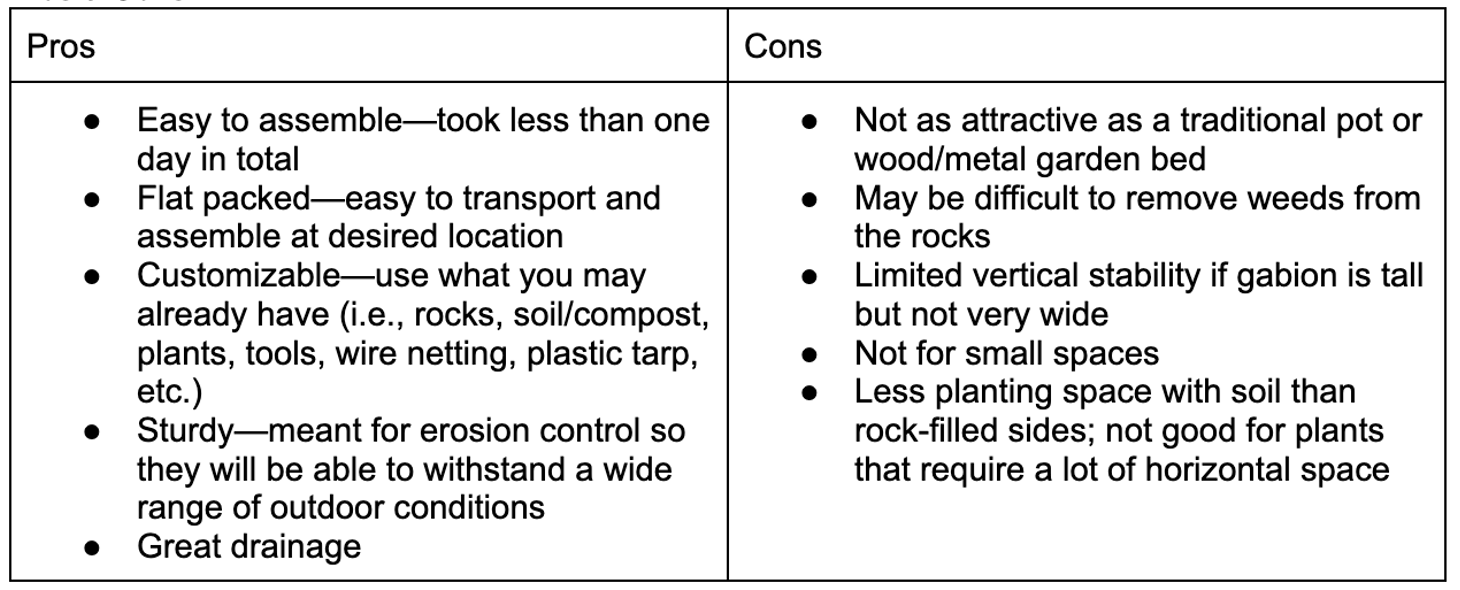
Pros and cons of using a gabion as a garden bed
Tips for assembly, long-term durability and maintenance
This blog is part of my internship with Sustainable House. I’m an undergraduate student on exchange from Boston University. I am also taking courses at the University of Sydney in addition to my internship.
This is my experience with building a gabion and using it as a garden bed for the Chippendale footpaths. As a gardening amateur, I welcome any kind advice or expert knowledge on footpath gardening or gabions to improve my experience and the experience of the reader.
Of course, these two gabions that I’ve built in late August, near the end of winter weather in Australia, may only show their true gardening worth in the time ahead during spring commencing next month and summer weather before I may be confident whether I’ve built something that stands the test of time.
My internship with Sustainable House ends in November, just as summer begins. I’ll publish an update to this blog towards the end of my internship to share my observations and may revise some of this blog based on the results.
In between now and then, please comment freely here on my first attempt at making gabion beds.
Materials
Most of the materials for this project can be found at local hardware stores, but I encourage you to use any leftover materials from past projects for this one as well! Spare rocks, bricks, plant-based packing materials, etc are great additions to this gabion.
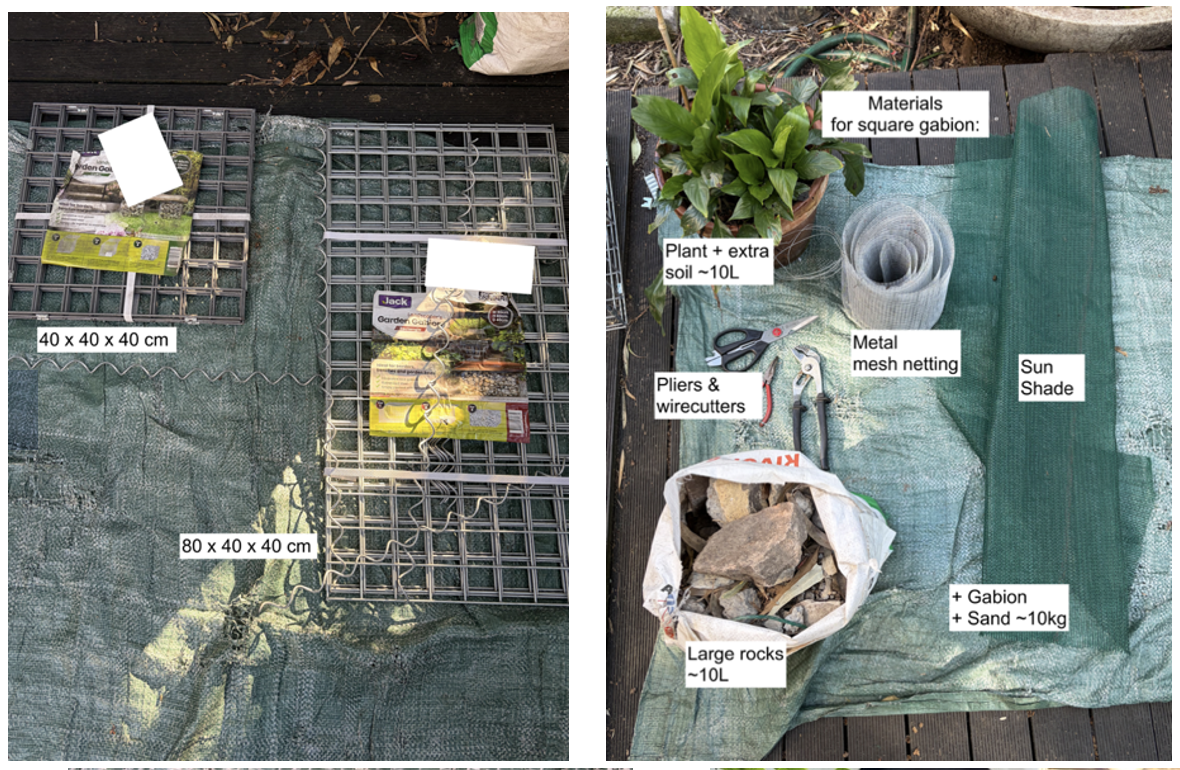
• Left: Plant Support Gabion 40X40X40CM CUBE - AMT INCL GST 33.03 and Plant Support Gabion 80X40X40CM RECTANGLE – AMT INCL GST 59.68
• Right: materials, tools
Steps
Step 1:
For the square gabion, use the pliers to secure five of the sides together with the provided clips, leaving the top able to be opened. You may even want to attach the top to the side with the clips to keep it from moving around freely.
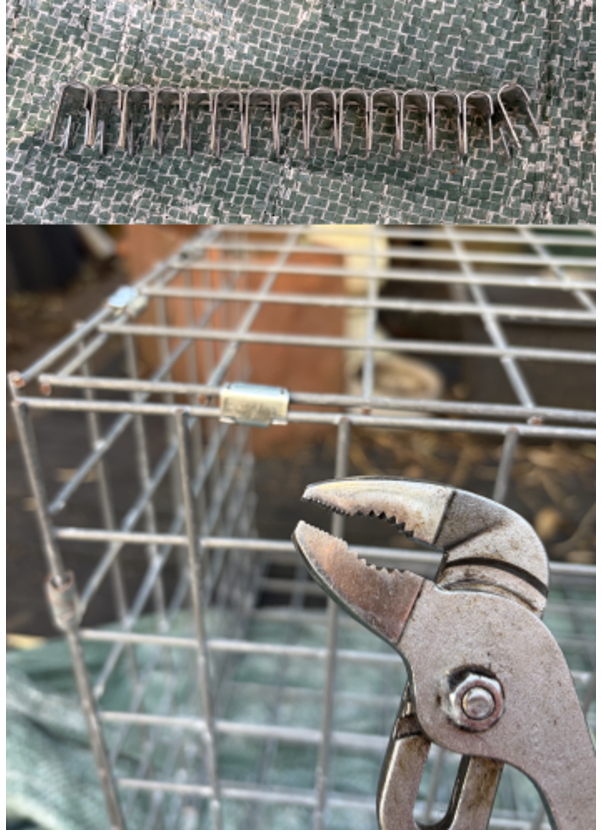
• Pliers & clips
Note: the larger, rectangular gabion uses metal spirals to keep the sides together instead of clips.
Step 2:
Cut wire mesh netting into a cylinder wide enough to fit your plant of choice and tall enough to reach the top of the gabion (we attached two layers of the wire netting together)
Then cut shade cloth to fit inside of wire net cylinder and able to be folded at the bottom to keep the soil inside the insert.
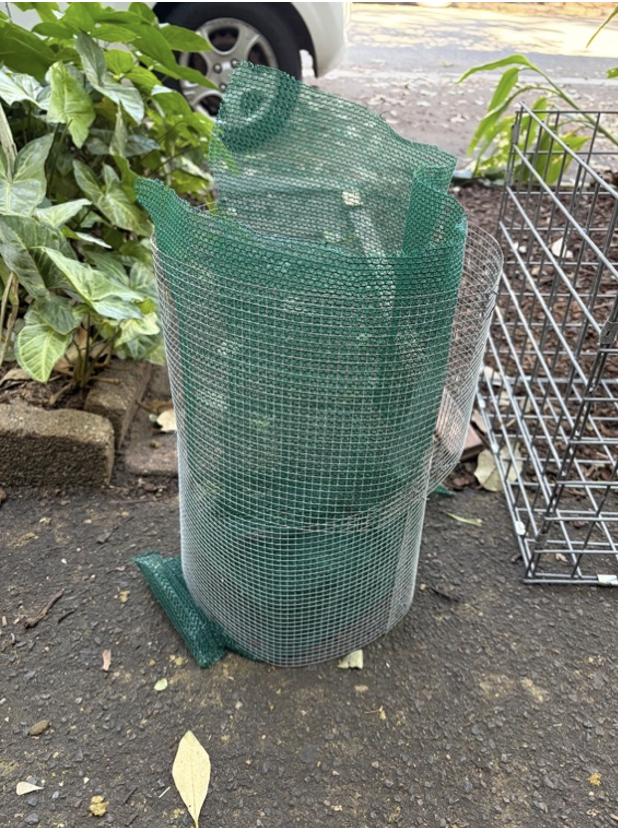
• Metal netting and shade cloth insert
Step 3:
Bring gabion & materials to your intended location for assembly and place the wire insert inside the gabion. We also added this sack at the bottom to support the soil and rocks but you could also use a layer of leftover shade cloth instead.
Tip: Level off the ground of your desired location before you put the gabion down. That way rain won’t disrupt (erode) your hard work.
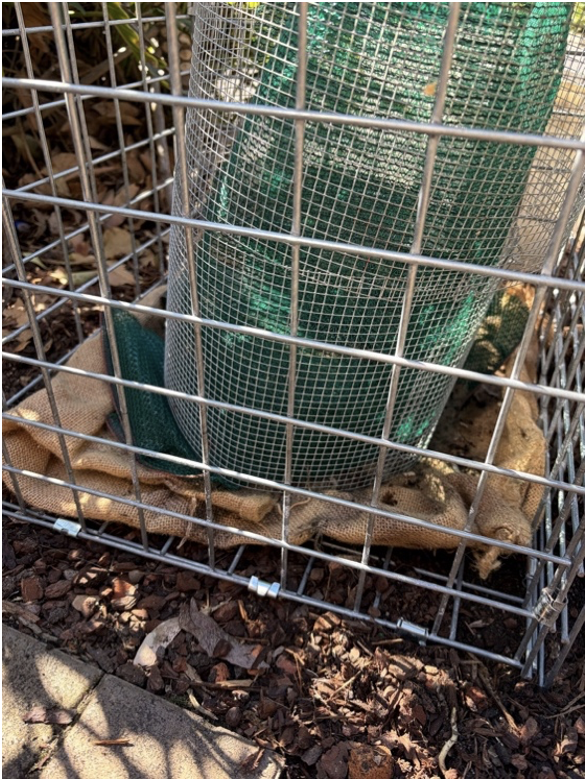
• Sack on the bottom of gabion with metal netting and shade cloth insert inside the gabion
Step 4:
Fill insert with soil until the point where you are ready to add your plant of choice
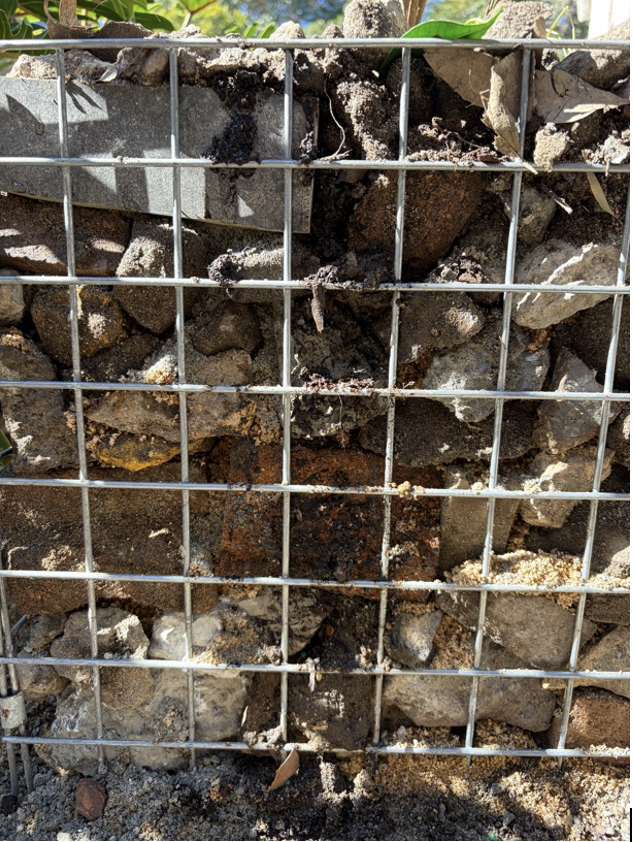
• Rocks, bricks on the outside and against the metal frame, then sack cloth inside and then soil between the cloth and the wire netting
Step 5:
Stack rocks around the inside perimeter of the gabion and fill with the sand as you go to stabilize the gabion and soil insert.
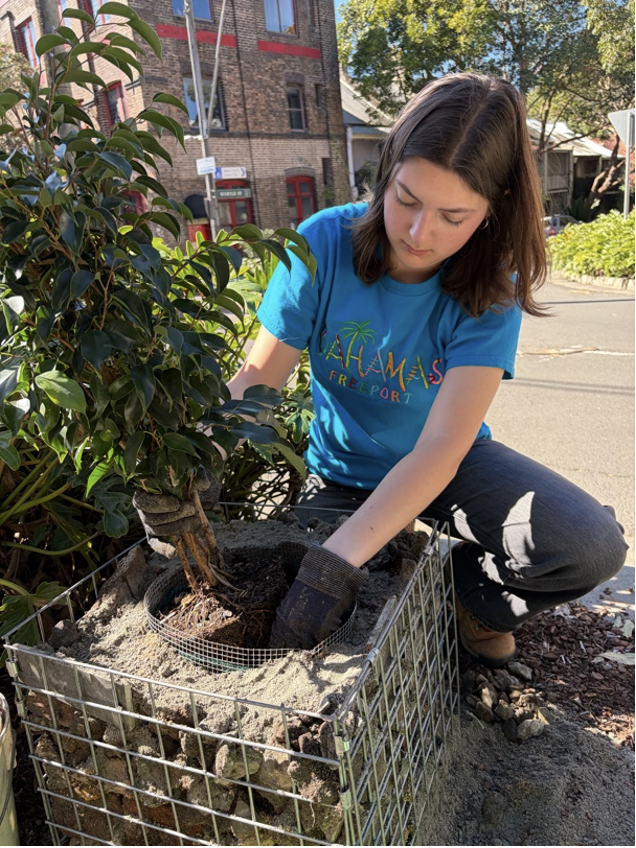
• Planting a plant
Step 6:
Go ahead and add your plant then top it off with any leftover soil
Tip: Before planting, if they’re curled up inside the pot cut the roots at the bottom and gently spread them out to promote root growth into the rest of the soil.
Step 7:
Mulch the top of the gabion. We used leftover wood shavings for the larger gabion and leftover rocks for the smaller one.
Optional—add any leftover rocks to the top to keep the sand in; it also looks more polished compared to leaving the top of the sand exposed.
The sand may settle over time so you may have to add more eventually.
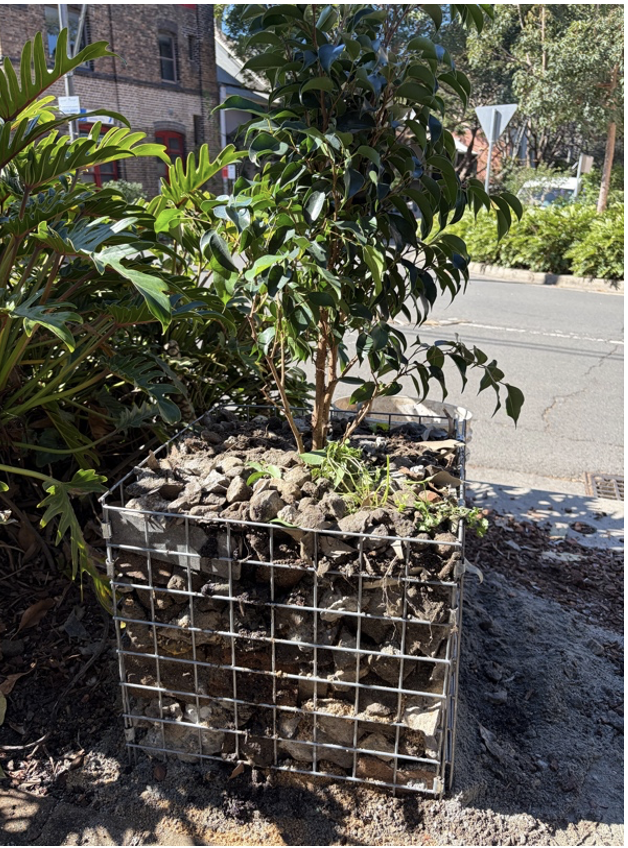
• Finished smaller square gabion
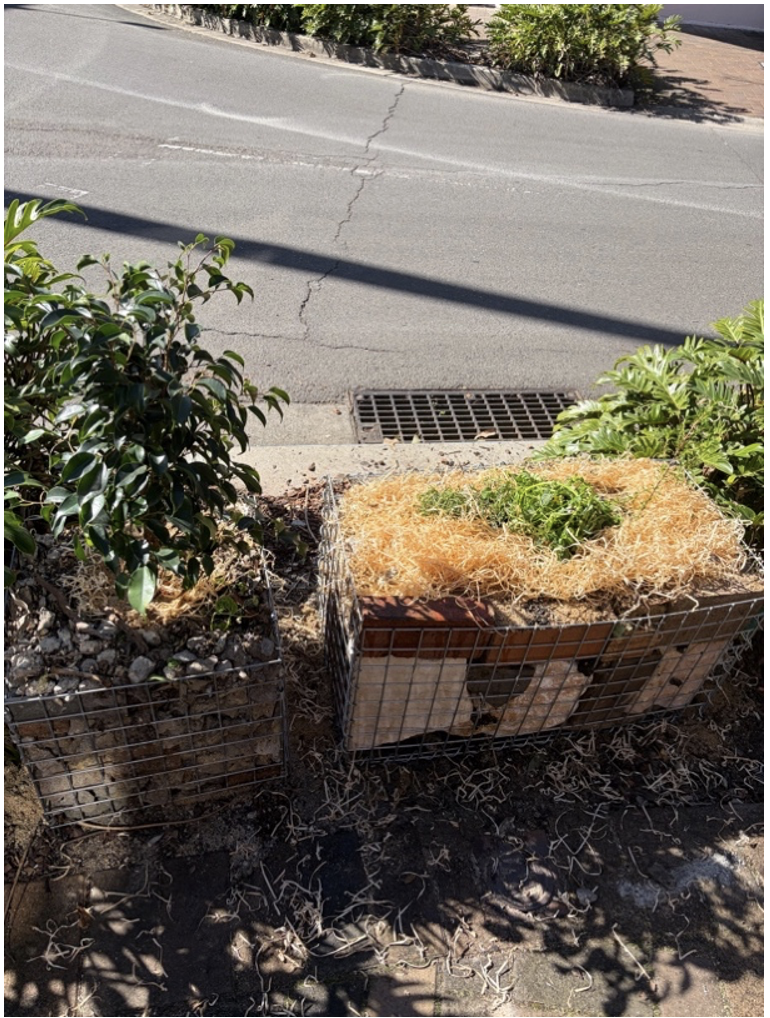
• These gabions also work very well right next to each other - we went ahead and assembled a larger gabion in the same spot
Pros & Cons
Thank you to Chippendale community for providing some of the materials
Some of the soil, rocks and sand used in the gabions wer provided by a Chippendale local that had been left over from a garden renovation they’d carried out.
Some plants were given by Sydney City Council for free to the Sustainable Chippendale Footpath Gardening group, other plants were bought by a local.
I encourage you to take the next step in contributing to a beautiful suburb by building your own gabion. Plant your favourite hardy varieties and watch your hard work flourish in the footpaths!
Jocelyn Seadler, Intern with Sustainable House