
Grace Canepari, intern with Sustainable House, explains how she and some others installed a new coolseat at the Haymarket Foundation, and how you can build your very own!
Installing a New Coolseat at the Haymarket Foundation!
Check out this video I made about the building process here at the Haymarket Foundation!
Getting Started on Day 1
On Monday the 29th of February, other interns Henry, Will, and I began our morning lugging several heavy boxes from Sustainable House up the street to the Haymarket Foundation. We made 3 trips up and down the hill until we had finally collected all the materials we needed to get going.

• I couldn’t wait to open these up to see the latest version of the coolseat!
After prepping the area by sweeping and hosing down leftover dirt and debris, we started working on laying concrete and putting together our coolseat!

• Will is shaping the concrete for the base of the coolseat
Coolseats must be placed on level ground. We were working on a slight hill, so Henry and Will got to work mixing and laying the concrete so that we could level out the ground for the coolseat to rest.
Meanwhile, Michael and I unboxed all the parts. The coolseat came in 3 freight containers, and each basket also came in its own box for a total of 5. We started to put it together. We took the two long tin sheets and attached the brace bar to go underneath it. It is important for you to make sure the sheets are aligned at this point, so that the end pieces will go on correctly.
Then, it was time to put on the wooden end pieces. It was fairly easy to put the ends of the metal sheets into the end pieces, and then to screw them in place.
We placed the WaterUps at the bottom of the bin. The WaterUps is a wicking bed that makes watering plants 80% more effective by delivering the water right to the root. There is a tube that opens at the surface, and if you put water down that tube, it will go right to the bottom of the planter where the roots are.
If we water plants on top instead, water will evaporate or not reach the plant roots. Water is also held in the Waterups where the roots are, so that it collects and can continue to provide for the plants after they are initially watered.

• The WaterUps wicking cells sit on the base of the coolseat garden bed. The tube on the left sticks up to the surface of the soil above from the bottom so that water gets directly down to the roots.
Using the WaterUps makes the plants stronger because the roots will always eventually try to find the water. If the water is at the bottom, the roots will grow downwards and anchor the plant into the soil. But if the water is at the top, the roots will stay towards the top of the soil. This occurs if you water from above, as many people do. Shallower plants make for a weaker plant since it won’t be as anchored into the soil. The WaterUps will reduce the amount of water needed and how frequently the plants need to be watered, so it makes less work for you!

• Henry secures one of the black metal braces to the body of the coolseat, so that it can soon support the seat/lid.
The next step was to attach the black metal braces, which are used to support the seat and cover of the coolseat.
The longer end is applied to the outside of the back side, and the shorter end attaches to the inside of the front. Before attaching the top screw that holds these pieces together, we had to slide the metal brace for the baskets in between them. These braces are what the composting baskets rest on, so it’s important to attach them correctly so that they can support the weight of the compost.
Then it was time to add the seat onto the coolseat! Make sure to add the spacer to the inside of the brace, so that the seat can freely open and close. We put the baskets in their respective places, and the process of building the coolseat was finished!

• Finished coolseat! Now it was time to add the finishing touches.
Ciro, at Mr Fox in a Box, helps to design and produce the coolseats. He was a huge help in advising us on how to put it together. Thank you, Ciro, for your help! Future coolseats will come with a “how to assemble guide”.
Day 2!
The next day, we returned to the site to finish placing the coolseat on the concrete slab. Michael, Will, and I had huge help this day from two members of The Haymarket Foundation community, the Sydney Botanical Garden Community Greening Division, and Ian from WaterUps. Thank you to all that helped us!

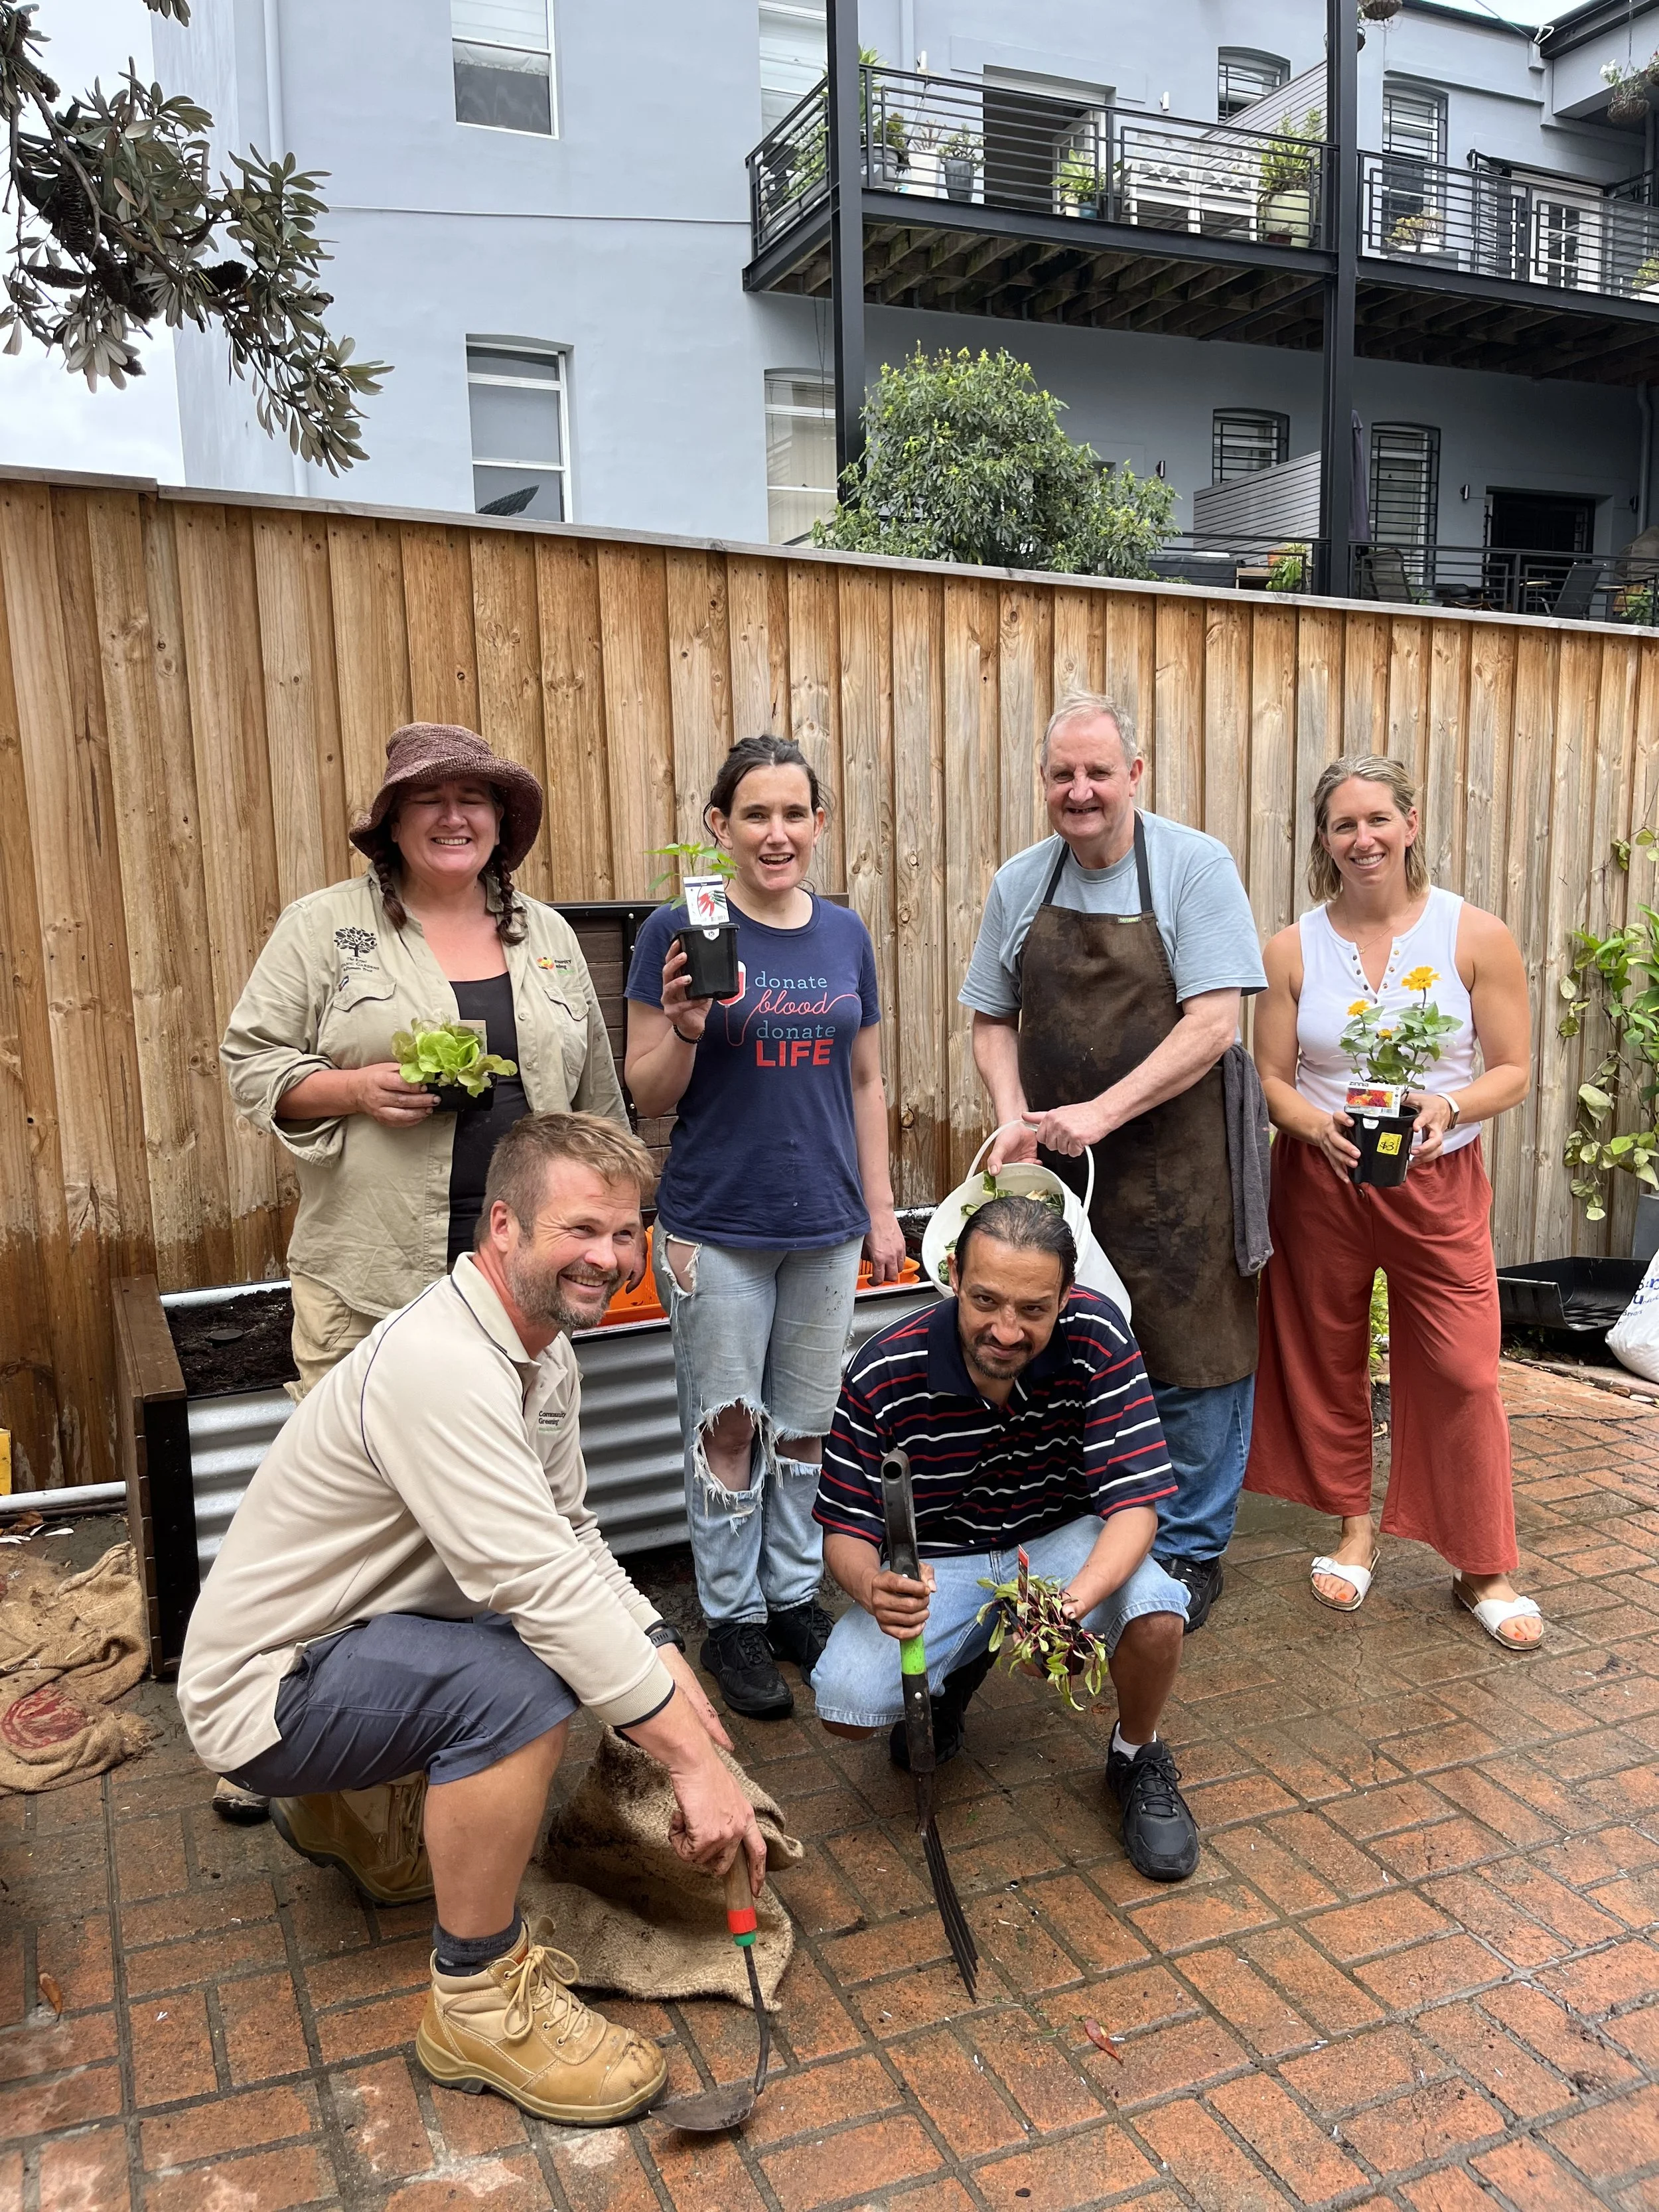
• Team picture! Thank you all for your help!
The first thing we did to prepare was to add a substrate on top of the coolseat. This material has to be able to absorb and hold water, so something like perlite is very effective. It acts as a bridge from the water storage to the roots of the plant, by absorbing all the water from the bottom. The roots will stretch down to the filler, and then will be able to absorb all of that water that is in that zone.
We used coconut coir, which is a material with a super sustainable background. Coir is a by-product of the coconut industry. It is the fibrous outside of a coconut that would otherwise go to waste if it wasn’t used. Less waste = less in the landfill = less carbon in the atmosphere.

• The coconut coir (left) is soaking in water and expanding into a substrate!
The photo on the right shows the holes in the WaterUps that the coir will go into to absorb that water up from the bottom of the WaterUps container. For more information on coconut coir, click here.
Instead of ending up as waste, coir Is compressed tightly into blocks. These compact blocks make it easier to move from place to place, which can also reduce the emissions costs from shipping the product. When you mix the block with water, it starts to absorb a bit of it and has a consistency similar to soil! It expanded to fill the whole of that white container.

• Some of the Haymarket volunteers helped add the first soil to the coolseat
After the coir, it was time to add the soil! Soil was added to the planters on either side of the composting baskets.
We planted bean and cabbage sprouts and a tomato sprout into the gardens in the coolseats. These plants will start to take root and grow to help make the bench a pleasant place to sit.

• The Haymarket chef, Phil, added the first bucket of food waste to one of the two baskets. (That hooligan on the left is calling the worms to “come and get it”.)
The chef, Phil, ceremoniously dumped the first waste bucket into the bench to commemorate the first food waste going in! As the daytime chef at the centre, he will likely be the one using the coolseat the most.

• Cardboard scraps (left) and compost (right) were added to each basket to create the best environment possible for new food waste to break down.
We made sure to add some shredded paper and cardboard scraps to the compost. It is super important that there is a 50/50 ratio of cardboard and paper to food waste, because the paper products absorb and hold extra unnecessary moisture. We also added some mature compost into the bins so that it could all be mixed together. If the pH of the compost or soil is too basic, you can add coffee grounds to increase the acidity.
The last step was to use the auger to mix the compost and make sure that it was a well-blended concoction.

• Finished coolseat
This coolseat is the second one at the Haymarket site, and it seemed to us the residents and Haymarket workers were excited to have another one!
The previous one was full, meaning that it was well-used and that is quite exciting!
Make sure you stay tuned on Instagram at @michaelmobbs and @coolseats, and on Facebook at Michael Mobbs, Sustainable House, or Cool Seats.